
Water heater leaking: what to do in the first 30 minutes
When a water heater begins leaking, immediately shut off the cold water supply valve on the top inlet pipe and turn off the gas control knob or electric circuit breaker. Then attach a standard garden hose to the bottom brass drain valve and route it outside to drain the tank and prevent garage flooding.
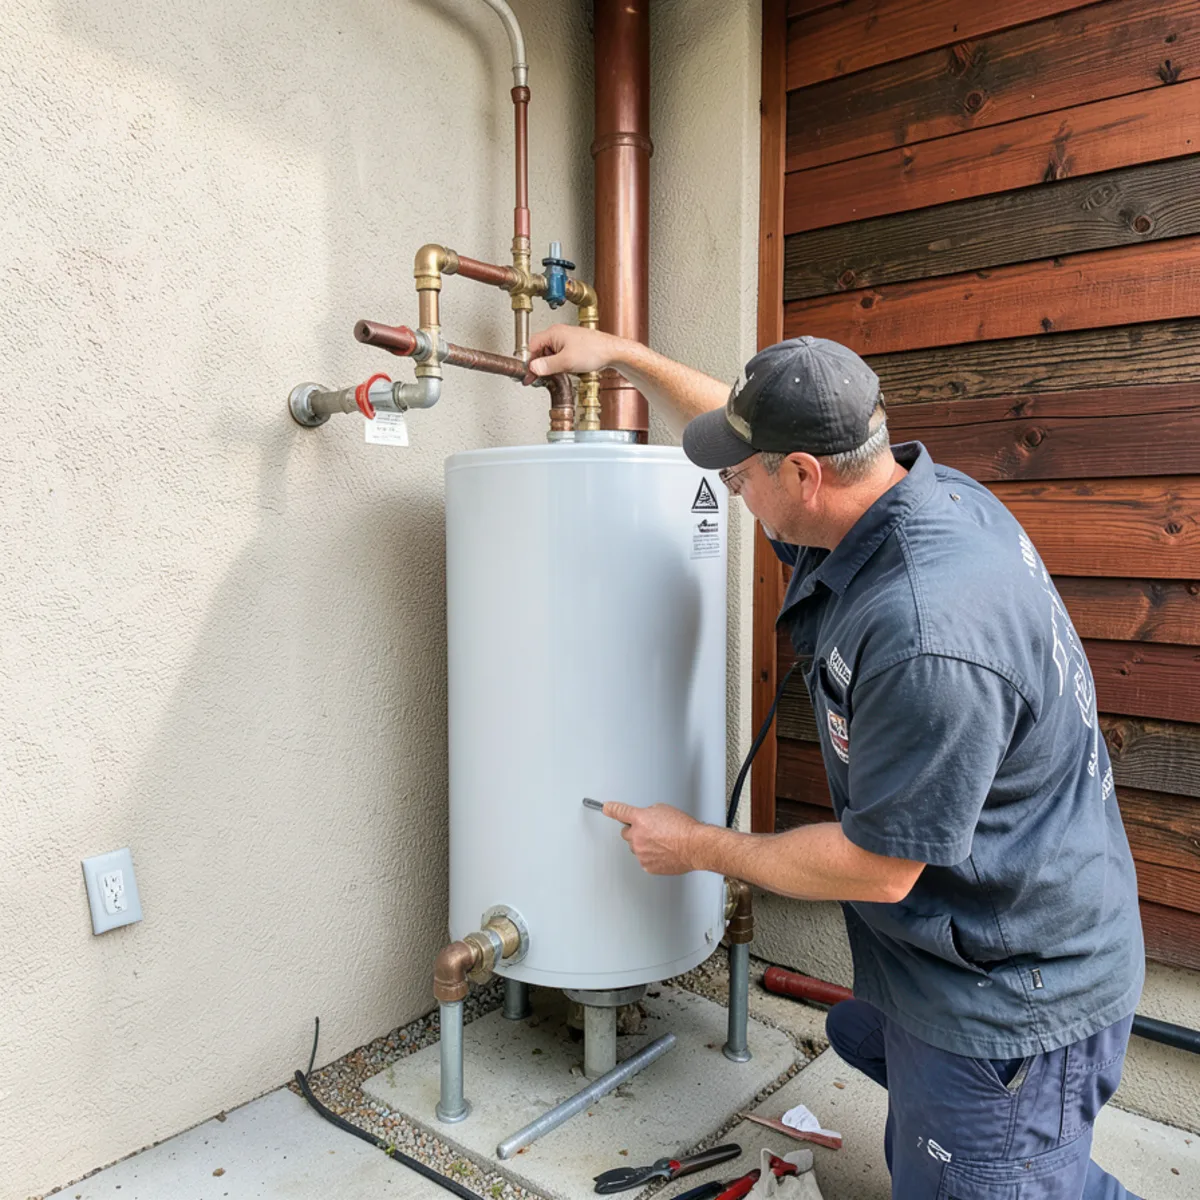
Table of Contents
- 1.Immediate Action: Shutting Off Incoming Water Pressure
- 2.Securing Fuel Lines: Gas Cock Isolation and Breaker Lockout
- 3.Controlled Draining: Garden Hose Connection and Vacuum Breaking
- 4.Diagnosing the Failure Point: Tank Seam Fracture vs Replaceable Fitting
- 5.Water Heater Leak Source Diagnostic Matrix
- 6.Frequently Asked Questions
Immediate Action: Shutting Off Incoming Water Pressure
When pooling water appears around your water heater, your first objective is arresting incoming line pressure. Locate the cold water inlet valve situated on the right-hand copper pipe directly above the top tank jacket. If your installation features a modern quarter-turn ball valve, turn the brass handle 90 degrees until it rests perpendicular to the pipe. If your system retains an older multi-turn gate valve, turn the circular wheel clockwise until it seats firmly against the brass base. Cutting this supply eliminates municipal street pressure—which runs between 60 and 90 PSI in Redwood City flats and up to 130 PSI in Emerald Lake Hills—stopping the continuous pressurization that forces water through fractured steel or compromised fittings.
Key Takeaways
- Turn quarter-turn ball valve perpendicular to copper supply pipe
- Turn multi-turn gate valves fully clockwise until seated
- Cuts off incoming 60 to 90 PSI municipal hydrostatic pressure
- Prevents continuous tank replenishment and garage drywall damage
Securing Fuel Lines: Gas Cock Isolation and Breaker Lockout
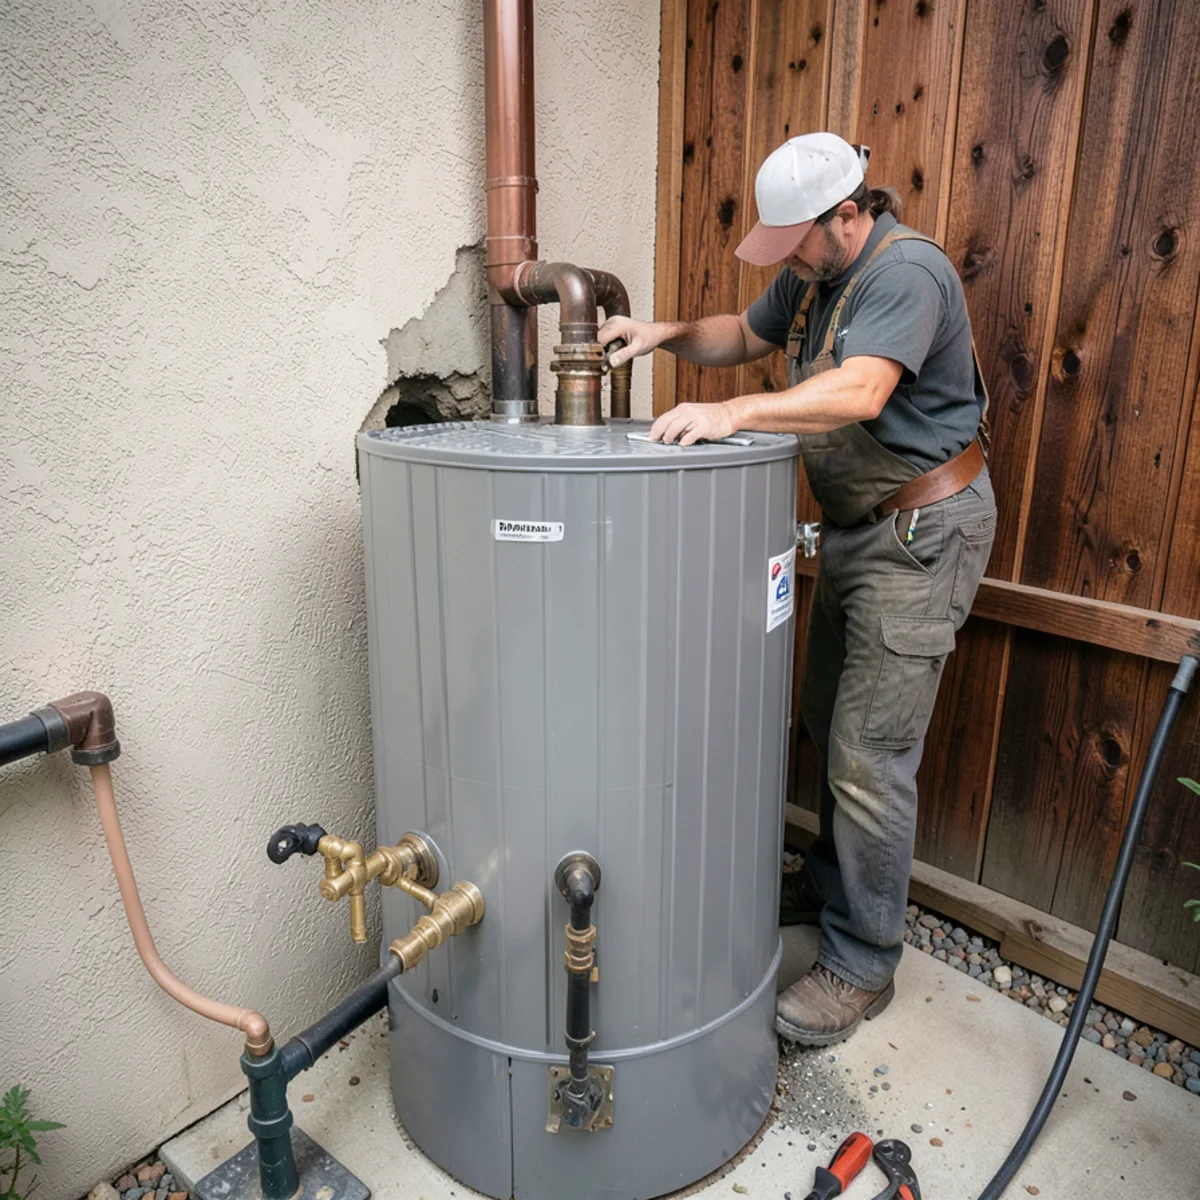
A leaking water heater presents severe thermal and electrical hazards. For natural gas appliances, rotate the lower gas thermostat control dial clockwise from the ON setting to OFF or PILOT. Next, trace the black iron gas pipe to the inline yellow-handled brass gas cock and turn it perpendicular to the pipe run. If you smell gas or sulfur odor (mercaptan), vacate the premises and call PG&E immediately. For electric or hybrid heat pump water heaters, navigate to your main electrical panel and switch off the dedicated double-pole 30-amp circuit breaker. Securing power sources prevents dry-firing the heating elements or burner assembly as the internal water level drops, eliminating catastrophic element burnout and electrical shorts.
Key Takeaways
- Rotate thermostat control knob clockwise to OFF or PILOT position
- Turn yellow-handled inline gas cock perpendicular to isolate gas supply
- Switch off dedicated double-pole 30-amp breaker for electric or hybrid units
- Eliminates dry-fire burner damage and electrical shock hazards
Controlled Draining: Garden Hose Connection and Vacuum Breaking
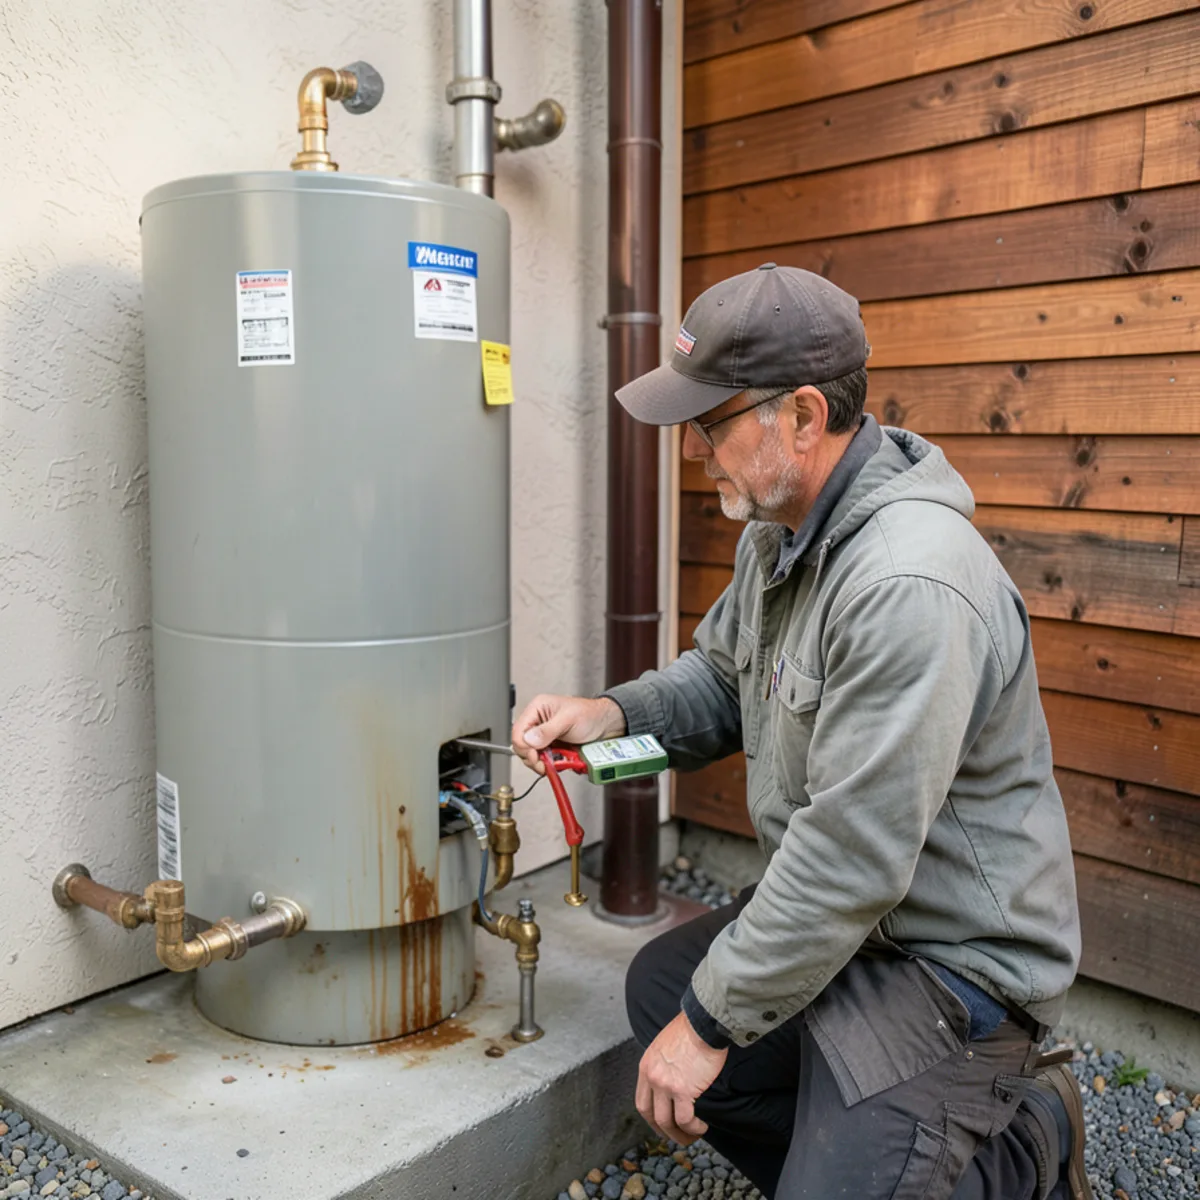
To evacuate stored scalding water before it floods finished flooring, attach a standard 3/4-inch heavy-duty garden hose to the threaded brass drain bib at the tank base. Route the terminal end outside to a driveway, concrete patio, or street gutter. Using a flat-head screwdriver or hand wheel, open the drain valve counterclockwise. Because closed tanks form an internal vacuum that halts drainage, lift the test lever on the Temperature and Pressure (T&P) relief valve near the top of the tank, or open the hot water faucet in an adjacent laundry sink. This admits air into the system, allowing 40 to 75 gallons of hot water to evacuate freely by gravity.
Key Takeaways
- Thread standard 3/4-inch garden hose securely onto bottom drain bib
- Direct open end to safe exterior drainage location away from foundation
- Open drain valve counterclockwise using screwdriver or wheel handle
- Open hot water faucet or lift T&P relief lever to break internal vacuum
Diagnosing the Failure Point: Tank Seam Fracture vs Replaceable Fitting
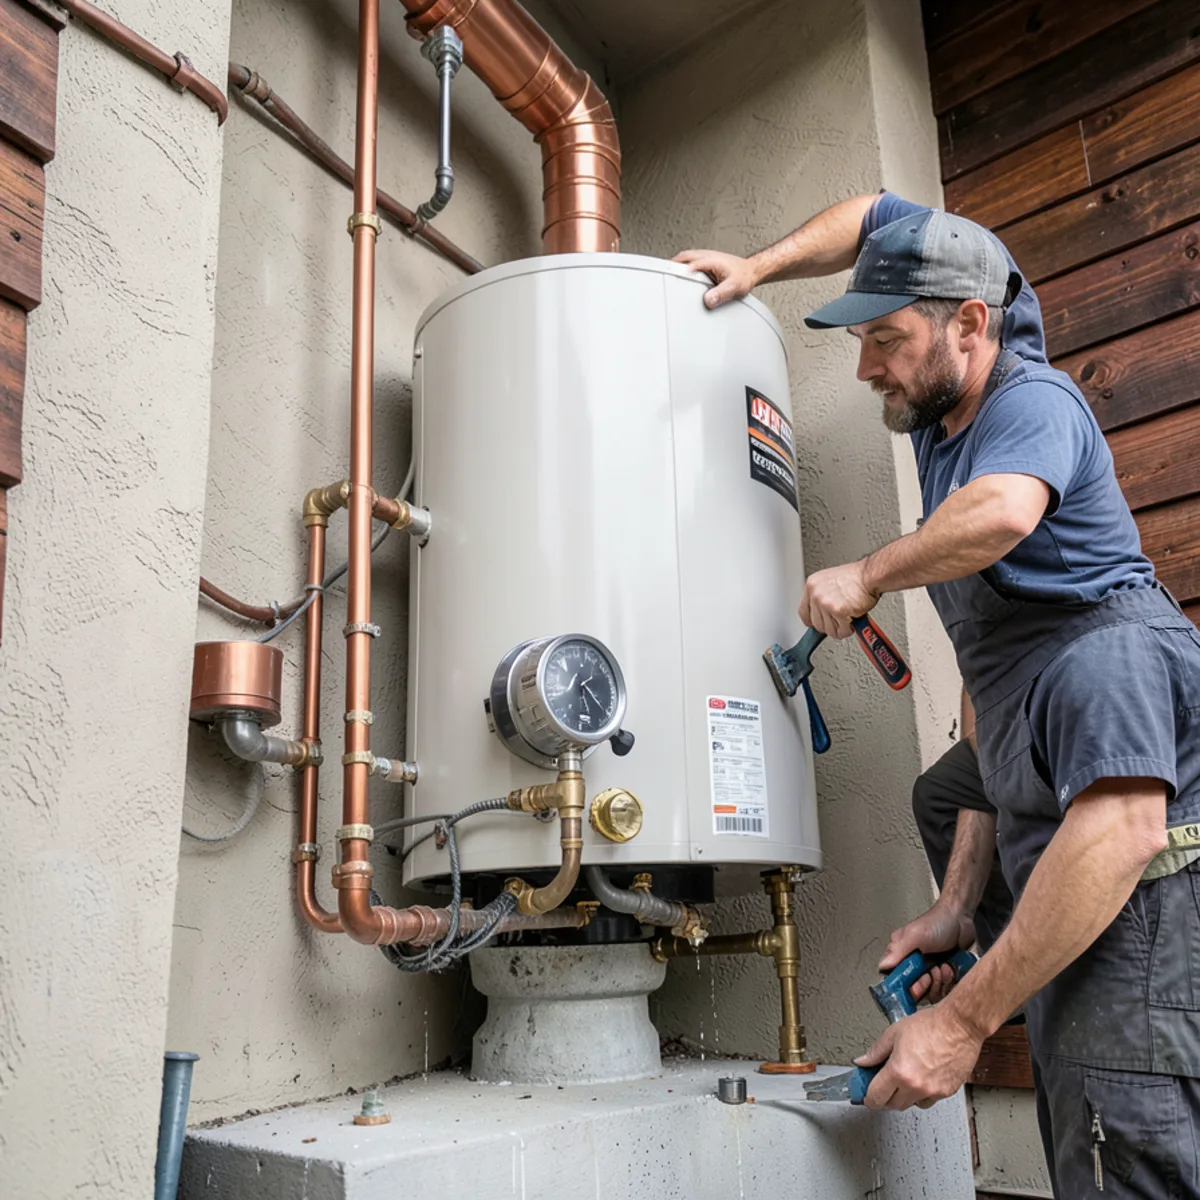
Once the leak is contained, inspect the tank body to determine whether the failure requires an isolated repair or complete appliance replacement. Inspect the dielectric unions and flexible copper or braided stainless water connectors at the top of the heater; deteriorated rubber washers or galvanic corrosion between dissimilar metals can be remedied with new fittings. If water discharges from the vertical copper pipe attached to the T&P relief valve, excess thermal expansion or failed pressure reducing valves may be the culprit. However, if water weeps from the bottom weld seam or behind the lower burner inspection panel, the inner porcelain glass lining has ruptured, allowing municipal water to rust through the structural steel vessel. A fractured inner tank cannot be welded or patched under California Plumbing Code Section 507.0 and requires complete unit replacement.
Key Takeaways
- Check top dielectric unions for gasket decay or galvanic crusting
- Inspect T&P discharge pipe for pressure relief over 150 PSI
- Check burner access chamber for water weeping through lower tank jacket
- Internal steel tank breaches require complete replacement per CPC Section 507.0
Water Heater Leak Source Diagnostic Matrix
| Leak Location | Probable Cause | Severity | Recommended Action |
|---|---|---|---|
| Top flex line nipples | Deteriorated rubber gasket / dielectric corrosion | Moderate | Replace flexible stainless connectors |
| T&P relief valve discharge | Excess water temperature or line pressure >150 PSI | High | Test PRV regulator and thermal expansion tank |
| Bottom drain valve bib | Worn internal washer or calcified valve threads | Low | Install brass cap or replace drain assembly |
| Bottom tank weld seam | Internal glass lining fracture from tank corrosion | Catastrophic | Full tank replacement required |
Common Questions On This Topic
Frequently Asked Questions
Find clear answers to common questions about local plumbing codes, repairs, and our Redwood City service procedures.
No. Residential water heaters utilize an inner steel pressure vessel lined with fired porcelain enamel glass. Once corrosion breaches this inner glass coating, water attacks the outer structural steel shell. Under California Plumbing Code Section 507.0, pressurized vessels cannot be patched or welded because structural integrity is permanently compromised. Complete tank replacement is required.
Regulatory References & Standards
- • California Plumbing Code Section 507.0
- • California Health and Safety Code Section 19211
Need professional assistance with this plumbing issue?
Our technicians dispatch daily from 1835 Valota Rd. Call now to speak directly with our Redwood City team.